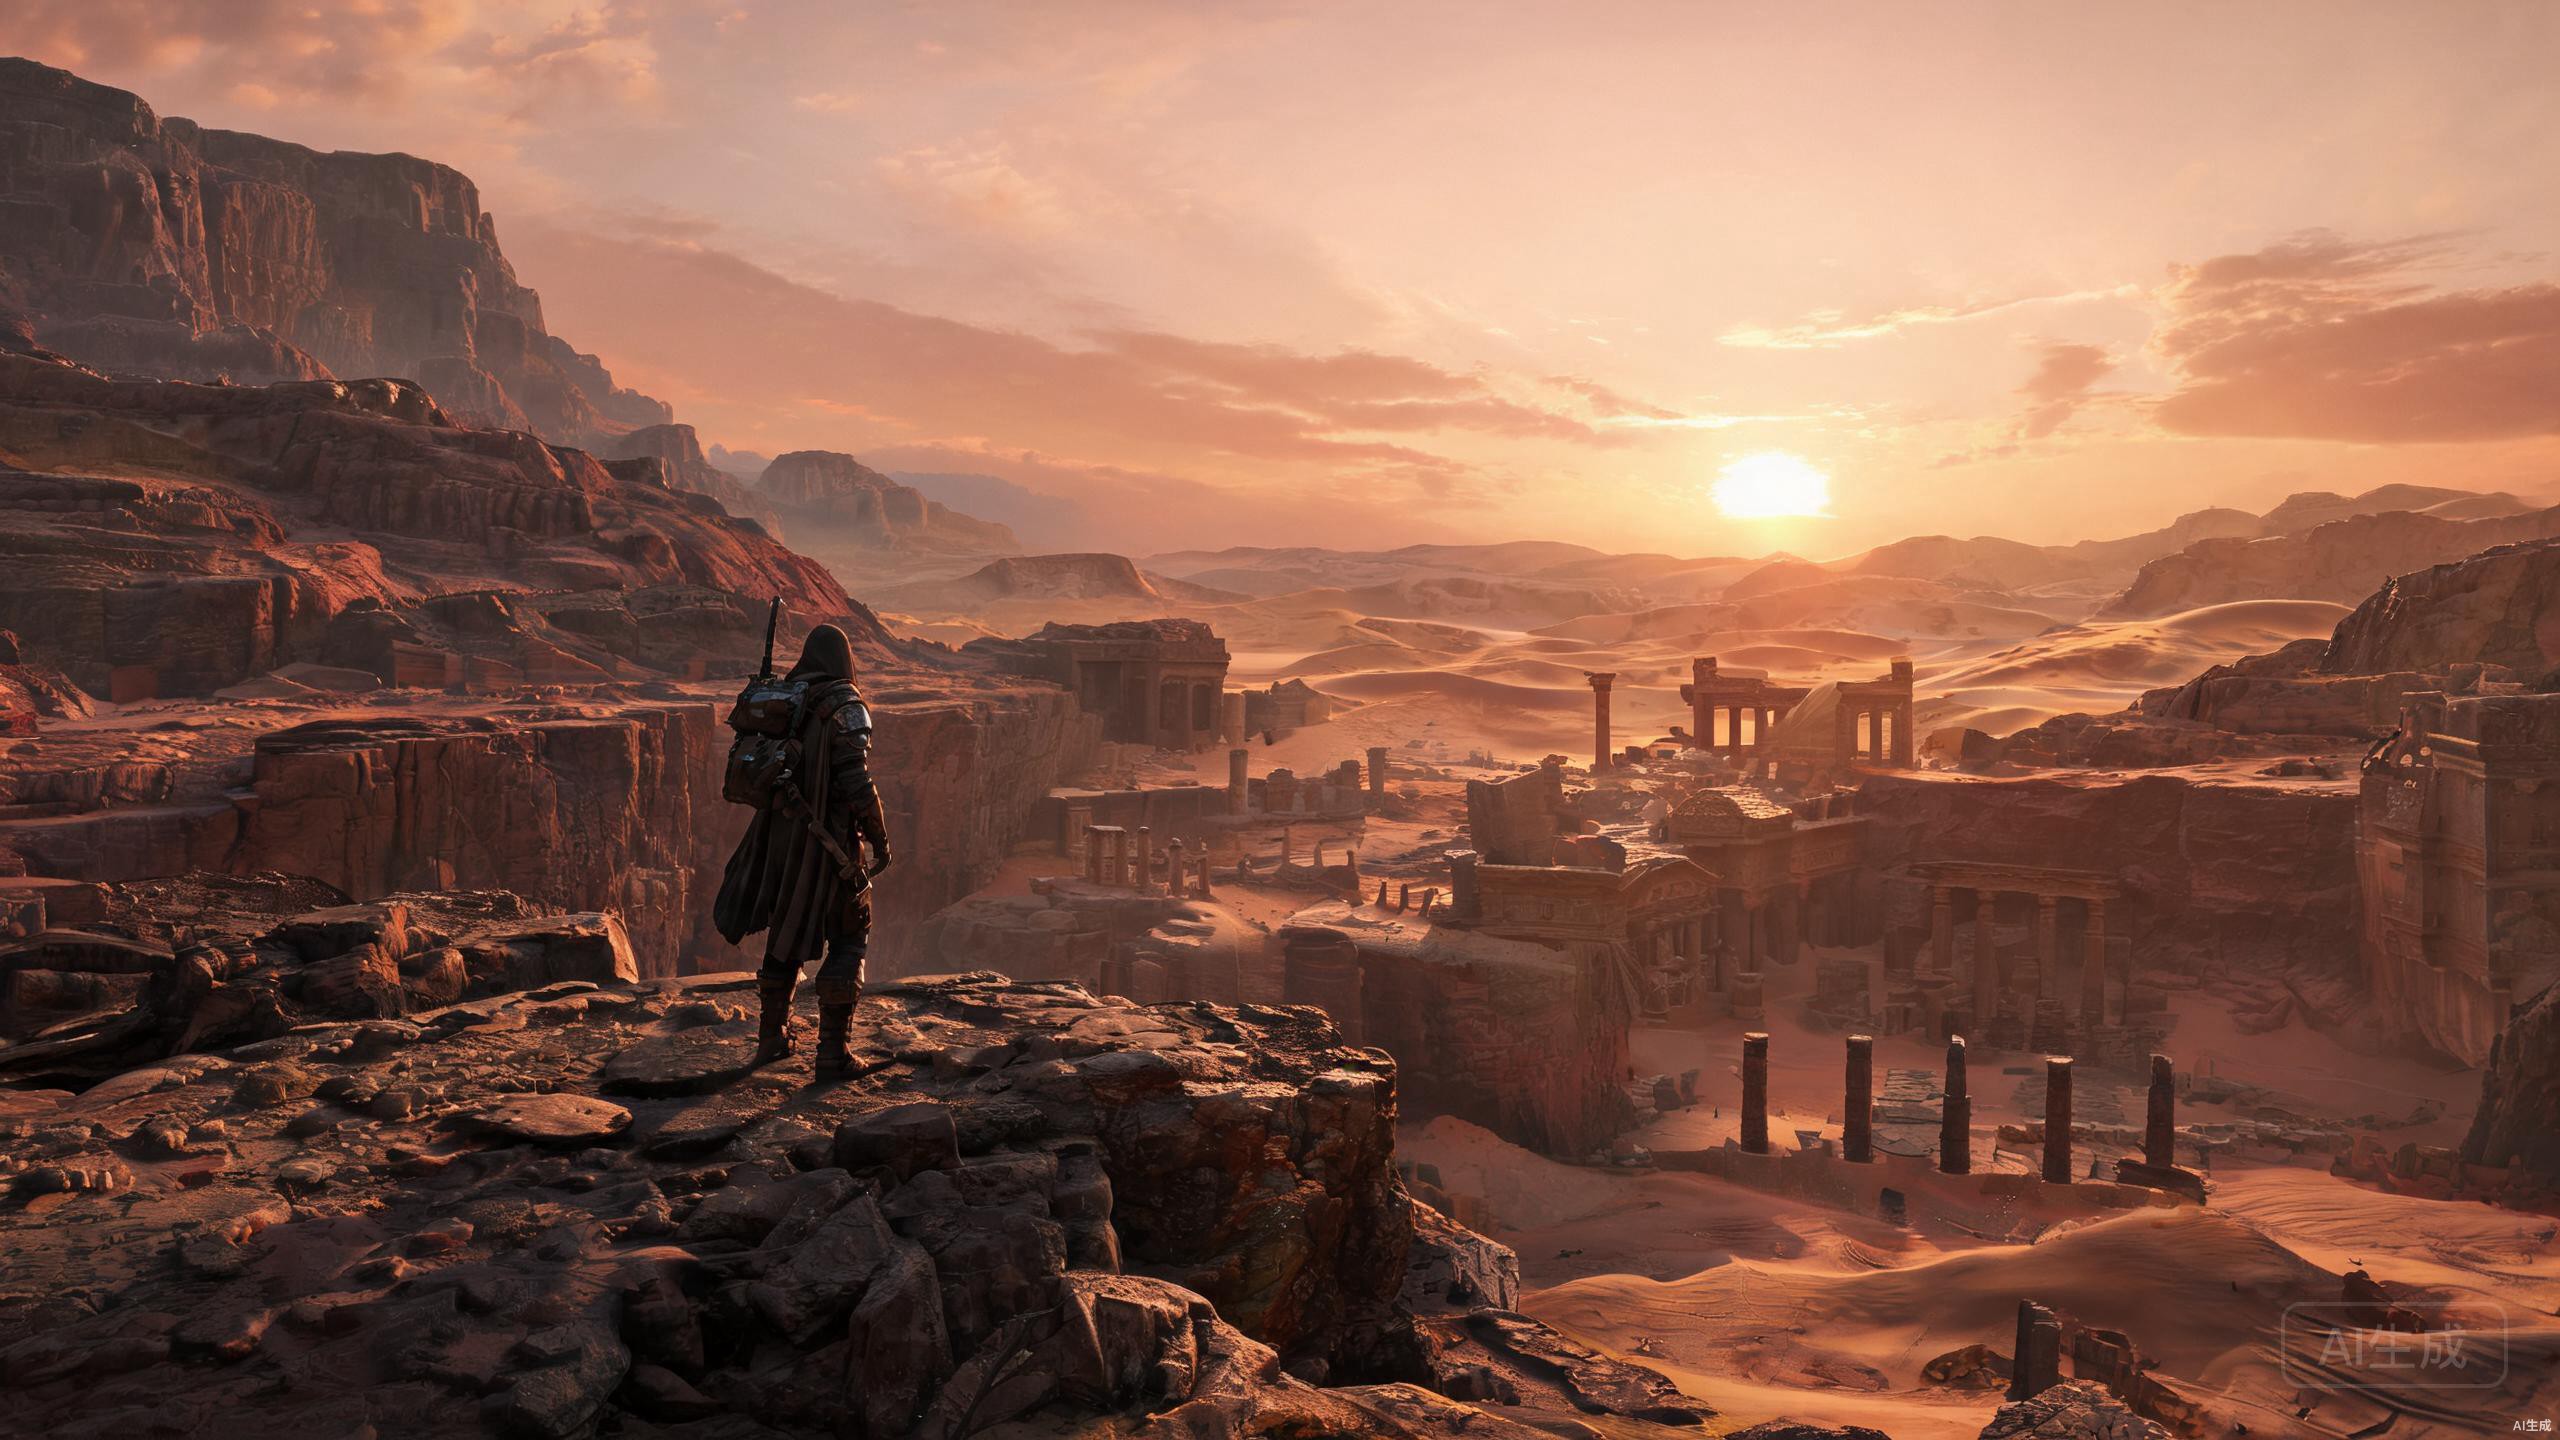
Combat in Crimson Desert is the backbone of every encounter you'll face across the harsh lands of Pywel. Whether you're fending off desert raiders, battling colossal beasts, or clashing with rival mercenaries, understanding the core combat system is essential for survival.
This guide covers everything from the fundamentals of attack timing and stamina management to advanced techniques like chain parries and weapon-switch combos. By the end, you'll have the knowledge to approach any fight with confidence. The combat system rewards patient play, pattern recognition, and strategic use of your environment.
Always begin fights by observing enemy attack patterns for 10-15 seconds before engaging. Most enemies have a telegraph phase that reveals their combo structure. Learning these patterns early will save you countless deaths, especially in boss encounters.
Basic Combat Mechanics
The combat system in Crimson Desert revolves around a stamina-based action framework. Every action you take — from light attacks to dodges — consumes stamina. Managing this resource efficiently is the difference between victory and defeat. The core controls are intuitive but mastering their timing requires practice.
| Action | Key | Description |
|---|---|---|
| Light Attack | LMB |
Quick strike, low stamina cost |
| Heavy Attack | Hold LMB |
Powerful strike, high stamina cost |
| Parry | Q |
Deflect incoming attacks at the right moment |
| Dodge | Space |
Roll to avoid damage |
| Block | Hold RMB |
Reduce incoming damage by 60% |
| Special Skill | R |
Unleash character-specific ability |
Stamina depletion is the most common cause of death for new players. If your stamina bar empties completely, you enter an "exhausted" state for 3 seconds where you cannot attack, dodge, or parry. Always keep at least 20% stamina in reserve for emergency dodges.
Advanced Techniques
Once you've mastered the basic controls, it's time to elevate your combat with advanced techniques. These skills separate casual players from true masters and are essential for tackling higher difficulty content.
Advanced combat in Crimson Desert rewards players who combine multiple mechanics into fluid chains. The key is understanding how different actions can cancel into each other and how frame advantage works in your favor.
- Chain Parry — Successfully parrying an attack grants a brief window where you can parry again with zero stamina cost. Chain up to 3 consecutive parries to stun the enemy and open them for a critical strike.
- Perfect Dodge — Dodging at the exact moment an attack lands triggers a Perfect Dodge, granting temporary invincibility frames and restoring a portion of your stamina.
- Weapon Switch Combo — Pressing the weapon swap key during a light attack combo transitions into a special dual-weapon finisher. This deals 1.5x damage and breaks enemy guard.
- Ki Pulse Recovery — After a heavy attack, press the stance key at the right timing to recover stamina instantly. This advanced timing technique enables relentless aggression.
- Environmental Finishers — Lure enemies near cliffs, walls, or environmental hazards.特定地形攻击可以造成额外伤害并将敌人推入危险区域,快速结束战斗。
Practice Chain Parry timing in the training arena (unlocked after Chapter 2). Set the training dummy to "aggressive mode" and practice until you can land 3 consecutive parries consistently. This single skill will carry you through most boss encounters.
Weapon Mastery
Crimson Desert features five distinct weapon types, each with unique move sets, attack speeds, and optimal use cases. Understanding these differences and choosing the right weapon for each encounter is crucial for efficient combat.
Each weapon type scales with different character attributes. While you can wield any weapon, investing skill points into a weapon's associated attribute tree significantly enhances its effectiveness. Below is a comprehensive comparison of all weapon types.
| Weapon Type | Damage | Speed | Best For |
|---|---|---|---|
| Greatsword | ★★★★★ | ★★★★★ | Boss fights |
| Dual Blades | ★★★★★ | ★★★★★ | Crowd control |
| Spear | ★★★★★ | ★★★★★ | Balanced |
| Warhammer | ★★★★★ | ★★★★★ | Heavy armor |
| Bow | ★★★★★ | ★★★★★ | Ranged |
Boss Strategies
Boss encounters in Crimson Desert are multi-phase spectacles that test every aspect of your combat mastery. Each boss has unique mechanics, weak points, and phase transitions that require adaptability and precise execution.
Sand Wraith — Kael'thar
World Boss · Level 45 · Pywel WastesKael'thar has three distinct phases. In Phase 1, focus on dodging his sandstorm sweeps and attacking during recovery frames. Phase 2 exposes his core — use the Spear's thrust attacks for maximum damage. In Phase 3, his attacks become unblockable, so Perfect Dodges are your primary survival tool. Bring health potions and fire-resistant gear.
Tips & Tricks
- Always upgrade your weapon before attempting a new boss. Even a +2 upgrade significantly increases your damage output.
- Use the environment to your advantage — narrow passages prevent flanking, elevated positions give ranged advantage.
- Save your Special Skill for critical moments. Using it at the start of a fight wastes its damage potential.
- Stock up on stamina-restoring consumables before long dungeon runs.
- Learn the "cancel" mechanic: pressing Block during an attack animation cancels recovery frames, letting you react faster.
- Parry timing varies by weapon — heavier weapons have a larger parry window but slower recovery.
- Explore side areas before main story bosses to find optional gear upgrades and stat boosts.
- Watch enemy glow effects: red glow indicates unblockable attacks, yellow indicates grab attempts.
If you're struggling with a particular boss, try changing your weapon type. Many bosses have hidden elemental or physical resistances that aren't shown in the UI. The community wiki often has up-to-date weakness data for each encounter.