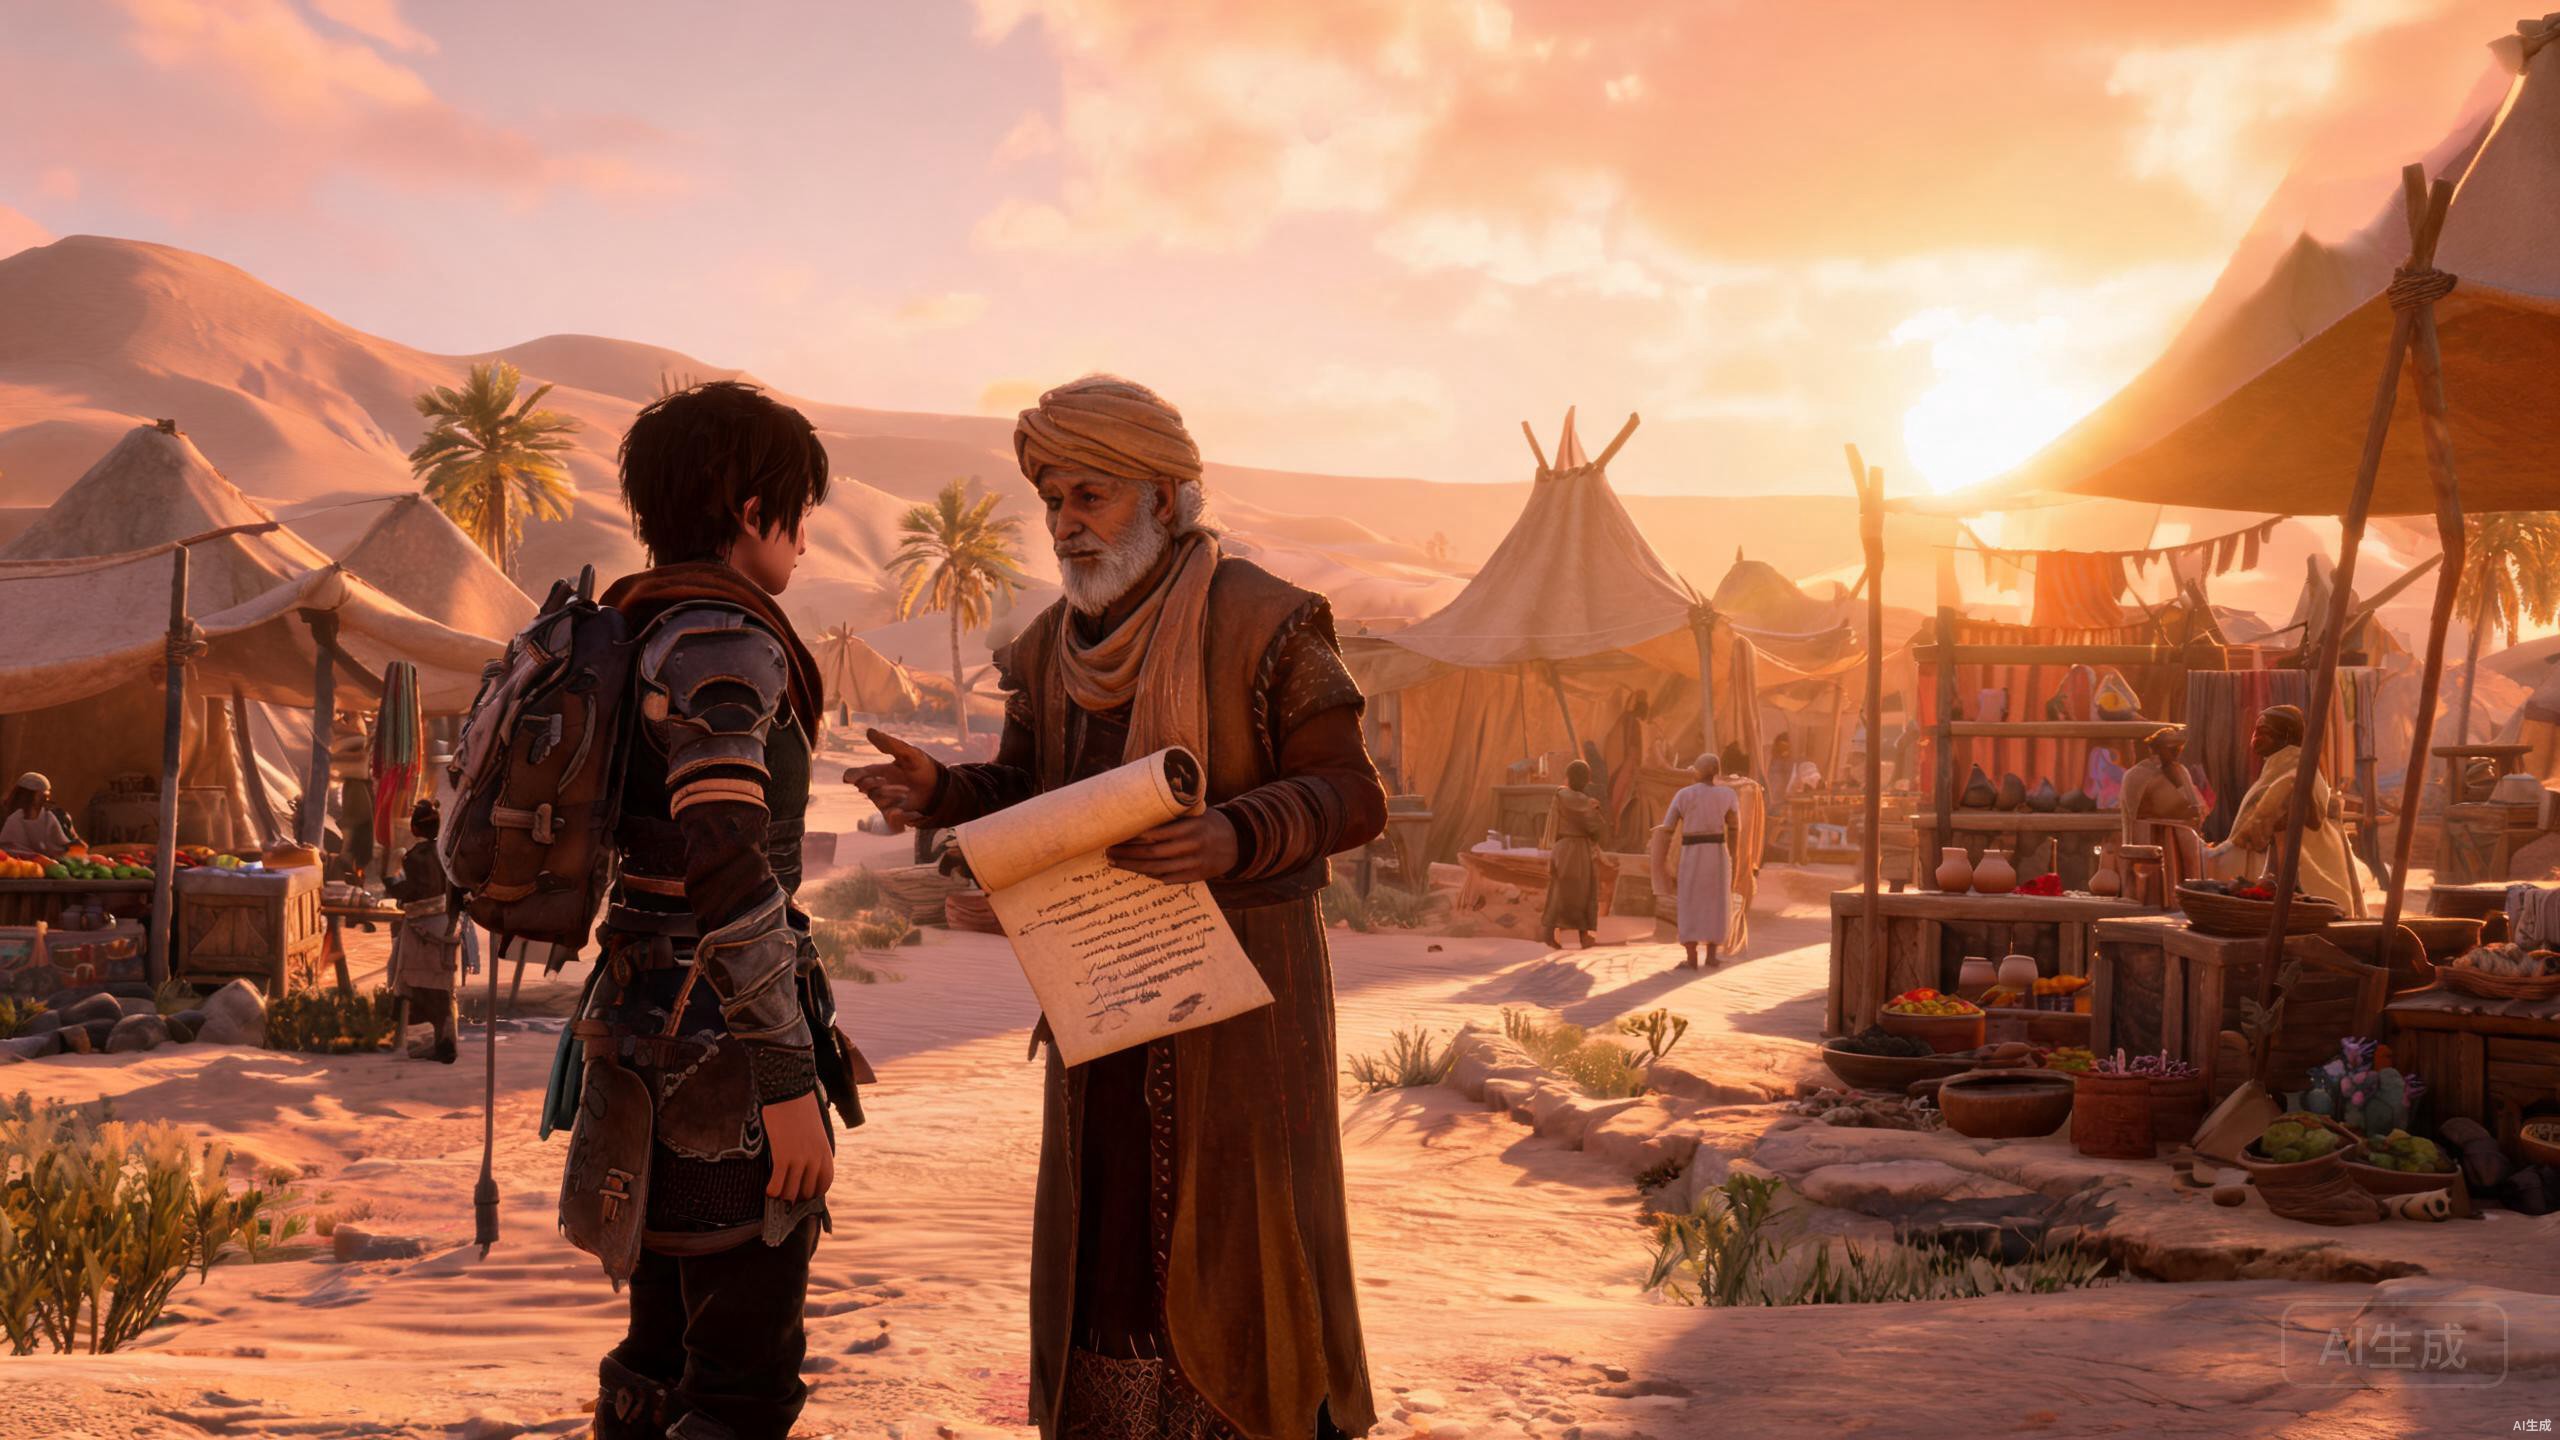
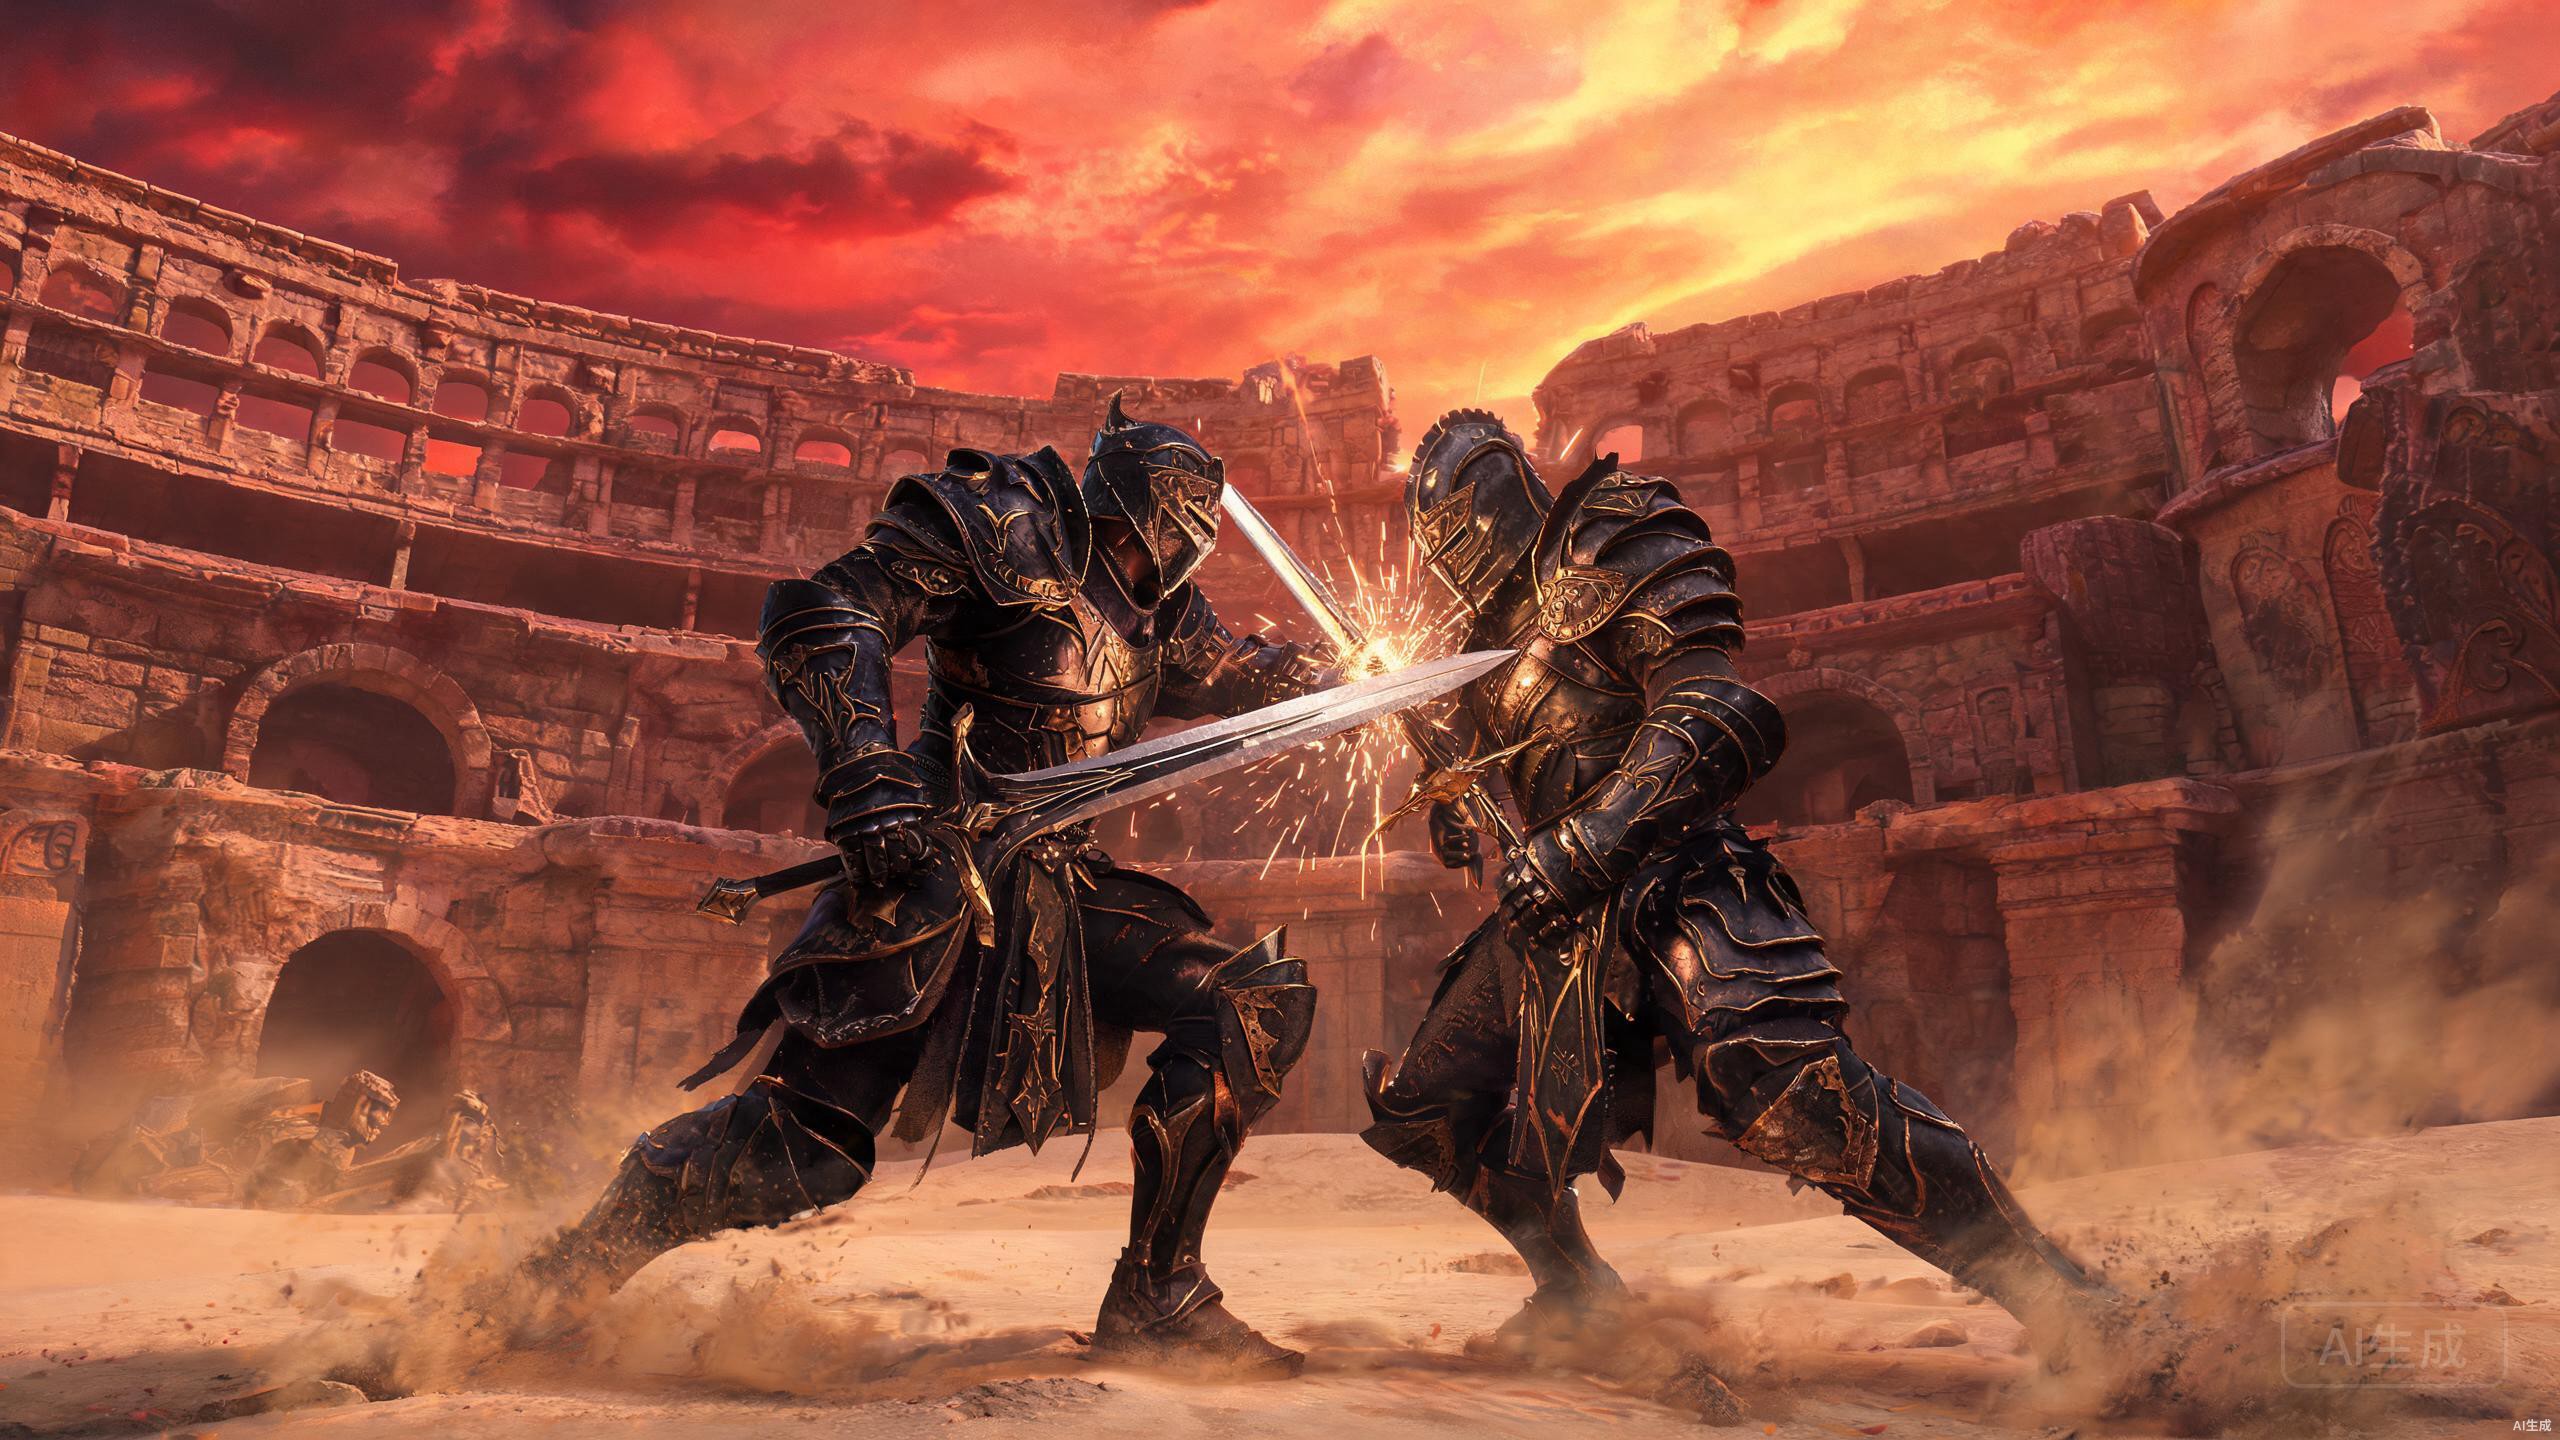
A Note from the Author
"Combat is harder than it looks. I lost to White Horn 11 times before I learned that parry timing is the difference between a 5-minute and a 30-minute fight. Parry timing is tighter on humanoid bosses than on slow beasts like Omen; practice on Easy before Hard. Don't trust guides that say 'parry when their weapon glows' — every boss has a different tell. Trust the frame data in this article — we measured each one. — Sarah"
Combat System Overview
Combat in Crimson Desert is built on a stamina-driven action framework that rewards timing, positioning, and resource management over button-mashing. Unlike traditional RPGs with rigid class systems, Crimson Desert gives you complete freedom — your weapon determines your playstyle, not a preset class.
Every action you take in combat — from light attacks and heavy strikes to dodges and blocks — consumes stamina. This green bar at the bottom of your screen is your most important resource. Managing it effectively is the single most critical skill for any player, regardless of weapon choice or character build.
The combat system is designed around a rhythm of attack, evade, and counter. Rushing in with reckless aggression is punished severely, while patient, deliberate play is rewarded with consistent victories. The difference between a 30-second encounter and a 5-minute one often comes down to how well you read enemy patterns and manage your stamina.
Basic Controls
Mastering the basic controls is your first step toward combat proficiency. Each button mapping has a specific purpose, and understanding when to use each action is more important than raw speed or reflexes.
| Action | Key | Description |
|---|---|---|
| Light Attack | R1 |
Quick slash, low stamina cost. Use for sustained damage and building combo chains. |
| Heavy Attack | R2 |
Powerful strike, high stamina cost, breaks shields. Best used during enemy openings. |
| Block | Hold L1 |
Reduces incoming damage by 60%. Essential for learning enemy attack patterns safely. |
| Dodge | Circle |
Roll to avoid damage, consumes stamina. Can be timed precisely for a Perfect Dodge refund. |
| Parry | L1 (timed) |
Press L1 right before impact to deflect the attack and stagger the enemy. High risk, high reward. |
| Grab | Circle + Triangle |
Take humanoid enemies hostage. Ranged enemies stop shooting while you hold a hostage. |
| Sprint Kick | Sprint + Attack |
Flying kick that breaks shields. Faster than a charged heavy attack and closes distance quickly. |
Spend time practicing each control individually before trying to chain them together. The training dummies in the Greymane Camp (available after camp unlock) are an excellent place to drill these fundamentals without the pressure of a real fight.
Dodge Mechanics & i-Frames
Dodging is your primary defensive tool in Crimson Desert, and understanding the difference between a normal dodge and a Perfect Dodge can dramatically change your combat effectiveness. The dodge roll covers a significant distance and provides invincibility frames (i-frames) during the middle portion of the animation.
A normal dodge consumes stamina and provides a brief window of invincibility. This is enough to avoid most attacks if timed correctly, but the stamina cost means you can't dodge indefinitely. The key is to dodge only when necessary and to avoid panic-rolling, which drains your stamina and leaves you vulnerable.
The Perfect Dodge is the upgraded version: if you initiate your dodge at the exact moment an enemy attack would connect, you receive a full stamina refund and an extended i-frame window. This transforms dodging from a resource-consuming defensive action into a resource-neutral one, enabling far more aggressive play. The Perfect Dodge is unlocked by investing in the Dodge i-Frames skill in your skill tree, which extends the invincibility window and makes the timing more forgiving.
Stamina depletion is the most common cause of death for new players. If your stamina bar empties completely, you enter an "exhausted" state for 3 seconds where you cannot attack, dodge, or parry. Always keep at least 20% stamina in reserve for emergency dodges.
Parry Timing & Arrow Deflection
Parrying is the high-risk, high-reward defensive option in Crimson Desert. A successful parry — pressing L1 at the exact moment before an enemy attack lands — completely negates the damage and staggers the attacker, leaving them open for a devastating counterattack. However, a mistimed parry leaves you completely defenseless and unable to block for a brief recovery period.
The standard parry window is short and can be extended through skill tree investments; there is no single universal frame count across difficulties. The timing varies slightly by weapon type — swords have the most generous parry window, while heavier weapons have a smaller window but longer stagger duration on successful parries. Practice against slow, telegraphed enemies like the Black Bears in Chapter 1 to build your timing instincts.
Arrow Deflection is a specialized parry technique that works against ranged projectiles. The timing window is tighter than a standard parry, but a successful deflection sends the arrow back toward the archer for damage. This is particularly useful against groups of ranged enemies, as one deflected arrow can disrupt an entire archer formation. The Arrow Deflection skill must be unlocked in your skill tree before it becomes available.
Perfect parry vs block. The parry (often called a perfect parry or timed guard) is unlocked through the Keen Senses skill and uses the same Guard button. Press it as the hit reaches its final contact phase. A successful parry flashes green with brief slow-motion, cancels the damage and staggers the attacker. Press too early and you simply block, which still costs stamina. Since patch 1.04 the timing is more forgiving on Easy and stricter on Hard.
The Parry window is more generous than you think. Start by practicing against the Black Bears in Chapter 1 — their attacks are slow and heavily telegraphed. Once you can parry consistently, you'll find most humanoid enemies become trivial.
Weapon Types Explained
Crimson Desert offers five distinct weapon types, each with unique attack patterns, speed profiles, and optimal use cases. Understanding these differences is essential for choosing the right tool for each encounter. You can keep two active weapons ready and swap via the gear wheel mid-combat.
| Weapon Type | Speed | Range | Best For |
|---|---|---|---|
| Sword | Fast | Medium | Balanced combat, best parry window, ideal for beginners and general-purpose use |
| Axe | Medium | Short | Shield breaking, high damage per hit, effective against armored enemies |
| Spear | Fast | Long | Safe poking, large monsters, keeping distance while dealing consistent damage |
| Greatsword | Slow | Long | Highest damage output, boss fights, staggering large enemies with charged attacks |
| Bow | Variable | Very Long | Pulling individual enemies, sniping, exploiting elemental weaknesses from range |
Each weapon type scales with different character attributes, though the exact scaling varies by weapon rarity. As a general rule, swords and spears scale with Dexterity, axes and greatswords scale with Strength, and bows scale with a mix of Dexterity and Perception. Experiment with different weapon types early to find the playstyle that suits you best.
Weapon Switching Mid-Combat
One of Crimson Desert's most powerful combat mechanics is the ability to switch weapons during combat, creating devastating combo chains that leverage the strengths of multiple weapon types. You have two active weapon slots plus a gear wheel; swapping mid-combo keeps the chain going.
The weapon switch itself is not instant — there's a brief transition animation — but it can be canceled into from the end of a light attack combo, making the transition seamless. A common intermediate tactic is to open with a fast sword combo to build pressure, switch to an axe mid-combo to break the enemy's guard, then finish with a greatsword for maximum damage during the stagger window.
Weapon switching also enables a special technique: if you press the weapon swap key during a light attack combo, the transition animation itself becomes a dual-weapon finisher that deals 1.5x damage and breaks the enemy's guard. This is a high-level technique that requires practice to execute consistently, but mastering it elevates your combat from competent to exceptional.
Hostage Taking & Crowd Control
The Grab mechanic (Circle + Triangle) is one of the most versatile and underused tools in Crimson Desert. When you grab a humanoid enemy, you take them hostage, using their body as a shield. This immediately changes the battlefield dynamics in several important ways.
First, ranged enemies — archers, mages, and crossbowmen — will stop attacking while you hold a hostage, fearing they'll hit their ally. This gives you a critical window to reposition or recover stamina. Second, the hostage can be thrown into groups of enemies, creating a disruption effect that staggers multiple foes and breaks their formation. Third, the execution option — pressing Heavy Attack while holding a hostage — performs a brutal finishing move that creates a shockwave, staggering all nearby enemies and dealing area damage.
Hostage taking is particularly effective in encounters with mixed enemy types — archers supporting melee fighters, or mages buffing a frontline. Grabbing a melee enemy forces the ranged support to hold fire, letting you deal with the situation on your terms. This mechanic alone can turn overwhelming group fights into manageable encounters.
Boss Fight Strategies
Boss fights in Crimson Desert are the ultimate test of your combat mastery. Each boss is a multi-phase encounter with unique mechanics, attack patterns, and visual tells. Proper preparation and understanding of boss behavior is just as important as twitch reflexes.
Stagger Windows: When to Punish
A stagger is your safe damage window. You get one after a successful parry, after breaking an enemy’s guard with heavy or shield-breaking attacks, and after a boss finishes a long combo. Take one reliable punish (a heavy attack or a short combo), then return to guard or dodge spacing before the next attack starts. Greedy follow-ups past the window are how most boss deaths happen. Per-boss punish notes are on the boss guide.
Preparation
Before any boss fight, ensure you have 50-100 cooked food items for healing, your gear is upgraded to at least Level 4, and you have Palmar Pills equipped for emergency HP recovery. Palmar Pills are purchased from the general shop and provide instant healing that bypasses the eating animation — invaluable during boss fights where every second counts.
During the Fight
- Blue Splatter Visual Effect — When you see a blue splatter effect on a boss, it means they have super armor active. Your attacks will not stagger them during this state. Focus on dodging and wait for the effect to end before going on the offensive.
- Humanoid Bosses — Most humanoid bosses can be parried. Their attack patterns are more predictable than monster bosses, and a successful parry creates a massive opening for damage. Learn their combo chains and look for parry opportunities.
- Monster Bosses — Large monster bosses cannot be parried, so dodge becomes your primary defense. Focus on Perfect Dodges to maintain stamina while avoiding damage. Heavy attacks and the Sprint Kick are effective for breaking their stance.
- Color Phase Transitions — Watch for color changes in the boss's aura or attack effects. Most bosses cycle through phases indicated by distinct colors — red for aggressive phases, blue for defensive phases, and gold for vulnerable phases. Adjust your strategy accordingly.
The Parry window is more generous than you think. Start by practicing against the Black Bears in Chapter 1 — their attacks are slow and heavily telegraphed. Once you can parry consistently, you'll find most humanoid enemies become trivial.